Monday, July 31, 2017

Club Scrap Team Challenge: Frames

Well Frames was the challenge.  We needed to stencil or stamp a frame as part of the challenge.  Well, I am a literal being, so frames I made, but first!!  You should have arrived from  Cheryl  or to start over, Click Here.

Well, lets start by looking at the finished projects, they are very easy to execute!!


Lets look at them one by one:

Card 1:
This is the simplest of the 3.  I used a stamp and stamped the frame. 
Here is stamped and cut out using a craft knife.  I colored it with Distress in Worn Lipstick.
This stamp was from "Boardwalk, June 2016".

All that was left was to finish it.  Using paper from this month's kit: "Vintage Botany" and the stamps from the same kit Attached everything to a white a2 card base.  The sentiment is from                         "Weathered Florals, 2013".  See how it bows in the middle.  Stamped and embossed and cut the tails, then using a pencil gently curled it, like curling ribbon.  The ends are held down by glue does, adding interest and dimension.  

Ok, Card 2:

This is my favorite.  I was after the image of a picture .  I think this worked.  

Ok,  The trick to doing all this straight integrated stamping is preparation.  I start with the stamp. 
Have I mentioned how much I love red rubber unmounted stamps, well I do.  For this reason, with a good sharp pair of scissors and I can make these babies do what ever I want, well almost, LOL.  

Anyway.  I cut right up to the stamp making sure straight.  Then using the grid lines on my stamp, placed the stamp onto the block.  All that is left is to use the grid lines and the edge of the paper for perfect stamping.

Now do thing I got this with the first go,  I have a can full of trials before I got this one, Im just saying sometimes it is worth the effort.  

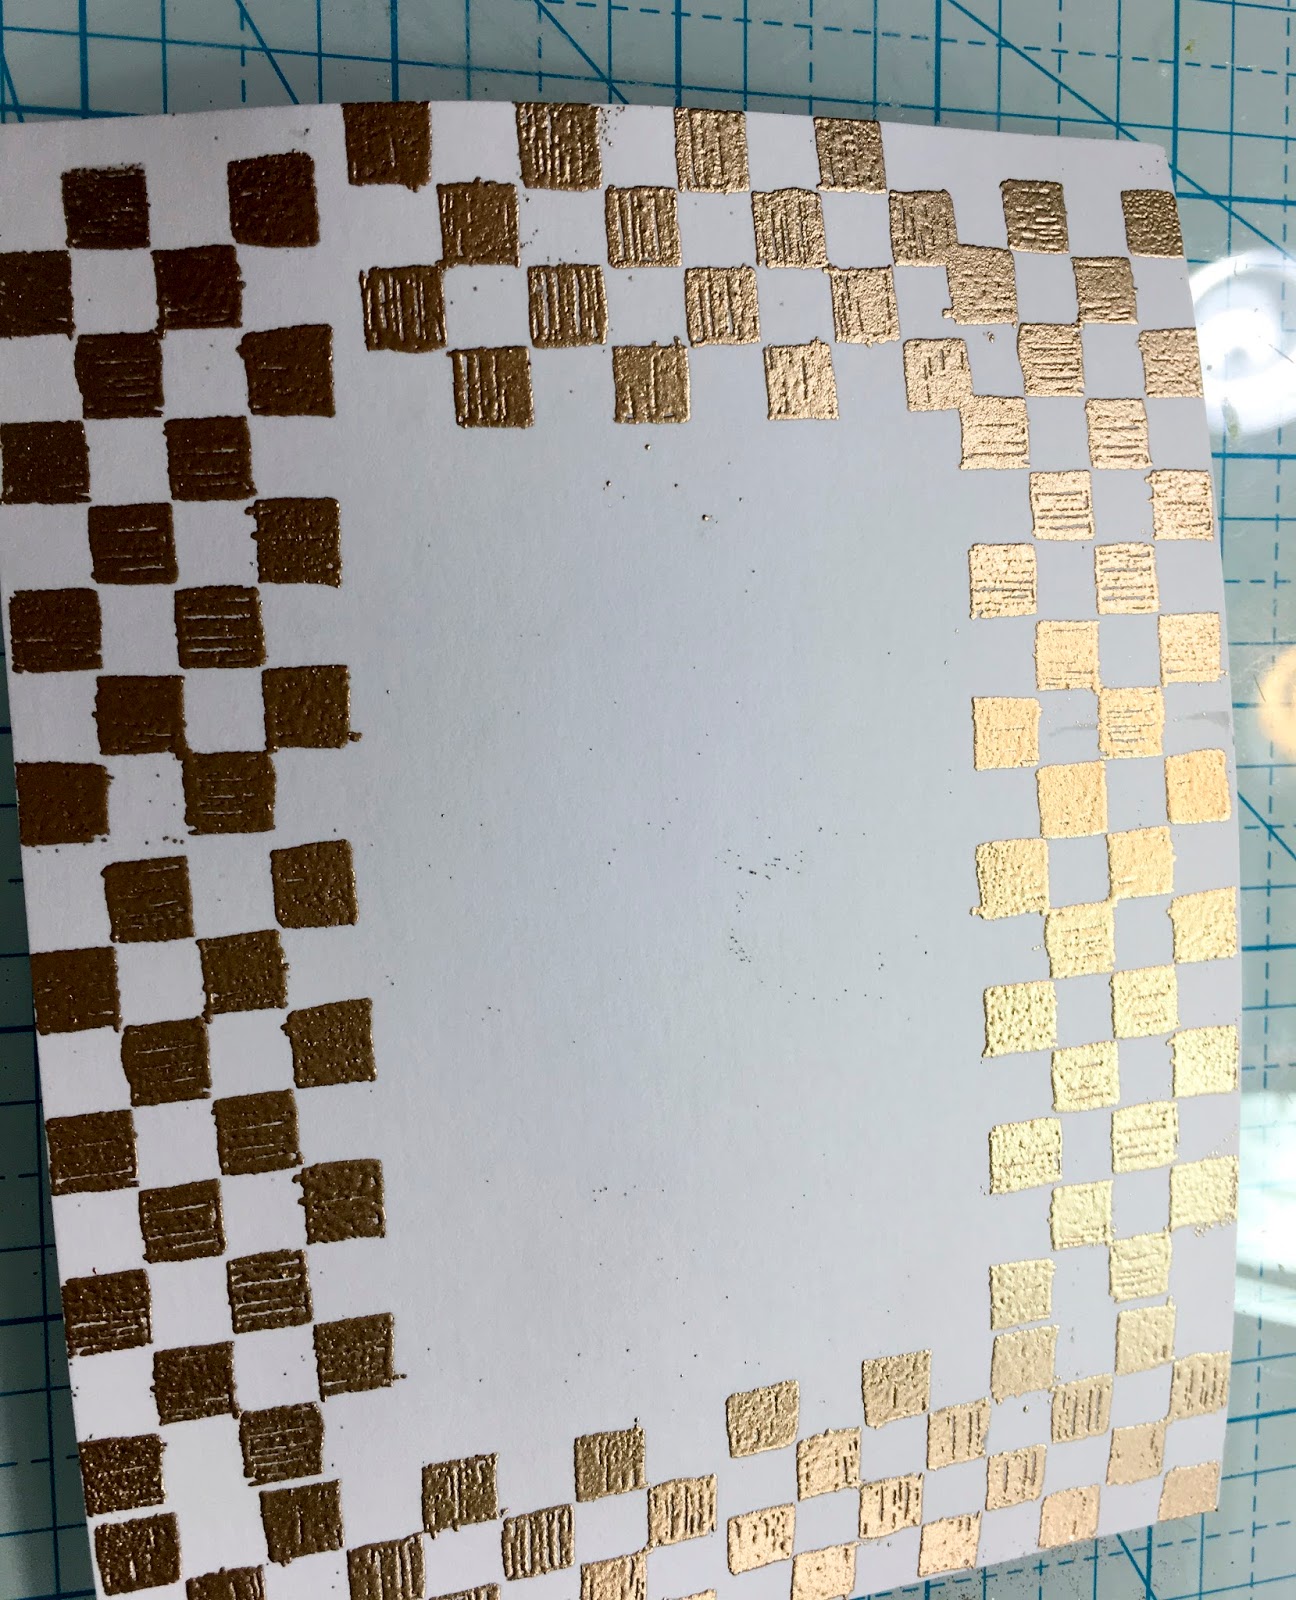
Heat embossed in gold and using a trimmer, cut the outside down to finished size, and a craft knife for the center.  Inked the panel in Gather twigs.  To give the picture from look, I adhered acetate to the opening,  Added artwork from our last kit, "Vintage Botany".  The stamp for the frame came from."Sunflowers, 2016".  

Ok, sentiment.  
Started out with the sentiment, stamped in Black Versafine and the heat embossed in clear.  Used a circle die to get the "top line", scissors finished it off.  Joy was also stamped and embossed and cut with the same circle die.   This sentiment also came from "sunflowers, August 2016".

Here is another look and I'll go over the details.  After I used the angle of the corner to shape the "Just image".  Cut a mat out of gold card stock to back the circle.  The final touch was abalone buttons, stacked on top of each other and threaded through with a gold thread.  This was all placed onto a green card base, also from Vintage Botany.  Stunning I think!!!

Card 3, now this was a bit of a challenge and the final card needs redone, but the process is the important point here.  

Don't look too close, I will share the salient points and we both will learn from my errors.  

Ok, lets see.  

I knew what I wanted, but spent time playing with my stamps and drawing and inking until I had the lay out right.  Then I stamped the borders.  

I lightly penciled guidelines on my card base.  This was necessary as the  stamp is not straight and I needed a guide as to where to place the grids from my stamp base.

I stamped using a Copic Friendly ink, Momento in this case.   Next I penciled in roughly where my "bugs needed to be",  Stamped and drew in the remaining artwork..

Lovely!!  nice proportions, pleasing movement.  

Ok, but lets talk about where I messed up and when I redo this, will remember.  I should have done all my coloring and background blending before inking the fly lines.  Everything started to smear.  I redid the piece, with this in mind all was well, until I added the distress around the edges and dropped my ink dauber on the still wet bee.  Tried to fix it, and that is where we are.  OK, well somethings are not meant to be, but I needed this card, and I was out of time.  So I finished it.  I tried to cover up the "booboos" and ended up running the ink more and making more booboos.  But you get the idea, This is a lovely design and will be finished at another point in time.  
Here is a good view, no booboos in sight.    I use white to accent and give that folksy hand drawn impression.  The stamps do the work, you just need to add dots and scribbles to turn in into yours. 

The stamps used were :  lines from "Crewel and Unusual", February 2016. Bees, butterfly and plant, are from "Garden Shed", September, 2016.  The rest hand drawn with different liner pens. 


Just to let you know what else I did to this.  It was colored with Copics, Inked and blended background with Distress, in Broken China.  I used Wink of Stella on the bugs, as well as a shimmer pen. The dots of dimension are the Nuvo Crystal drops in white and clear,  This is what made my ink and my copics run.  Will not use them near a colored image in the future or least will spray a fine mist of acrylic sealer first.  I think I might also try collage medium and see if that works to prevent the bleed.  Not all of the inked lines bled, I used several different pens.  The one I know bled was my Sakura micro tip and sharpie brand.    The bow covers the biggest tragedy.  

The card base was a wood grain paper I had. I used Distress Ink in  Gathered twigs and scored to create look of paneling.  I was going for window view effect.  Overall, there needs to be more color.  Perhaps the frame needed to be darker or different.  Some pink or other color was needed to balance this out.  I think I will use a plant with flowers and see what that does.  But the point here is how to create your own artwork using stamps.  This is my favorite technique and one I don't often share.  Perhaps I should, at least the process is one I find rewarding, .. . . . . . . .  Your next stop is,  Jennifer

Until Next time, 
Happy Crafting.  
Josette


Wednesday, July 26, 2017

Club Scrap Blog Hop for July: Vintage Botany

Hello again.  Time for the monthly Blog Hop and this month is a true winner.  Some months it is all about the stamps for me, like last month, and other months, well the paper just steals the show.  Before we start, some housekeeping.  You should have arrived from Jennifer.  Or to start at the beginning,  Click Here.

Ok, lets look at what I made, and then I will tell you about it.

An Album.
The back:
Close up of the closure.

This album is unique in that it opens long ways.
There are many instructions for making albums,  I will link the sources I used and share the details that make this unique.  But , the important thing is where did the inspiration come from.  The title of my blog is a hint that every thing I make is a "little bit" of this and that.  

So lets talk about the design process first.  

I had my first inspiration while walking through a craft show and seeing Tim Holtz demoing the distress crayons.  I have those, and try as might,  they never do what I want.  Well, maybe he could help overcome this deficit.  So I listened and I talked to him, and AhAh, I needed something to seal my paper so the color would move.  OK, good salesman  he is, and off I went to fine a shiny new hair of Collage Medium.  

Next piece of inspiration came from Karen, with this:  2016-atc-wallet, Mmmm, what could I do with this, I don't do ATC but love the look, the almost box like shape, mmmmmmm.

Then I read the name of this months kit:  Vintage Botany.  Immediately I thought of Vintage Seed Packets, Boxes for tools, The "look" and the color.  An idea started to form.  An album but as a Seed Collection Wallet, or folder of some type.  I remember from my days in the Emergency Department, we used these little paper folders to collect debris, hair, etc.  Would something like that work?

I received an email with a video blurb from Einat Kessler, File Folder Minii Album.  In this posting she used a folder system for her travel portfolio /suitcase.  And the concept developed.  


So lets look at the details. 

I started with the file folders.  

Easy!!  Take a 12X 12 paper and on one edge make a mark at 4" and 8", scoot down and make the same 2 marks ago.  Turn Paper and make 2 sets of marks at 3" and 9".  Draw lines to connect the dots.
Cut out the corners.  Now you have 4 flaps with a 4X6 inch center.

Score on the pencil line and 1/8" away twice.  Repeat this for all 4 sides of the box.  

Cover the inside of each of the flaps and center with paper.  Turn over and cover the outside four flaps, leaving center clear.  

Repeat this for 2 folder systems.  OK, recaps.  You have 2 pages, cut out as shown and scored and both covered on both sides, but the outside center box is bare.  With me.  

OK, now we make the spines.  Get out that grid ruler and measure your center box.  It should be 4X6 from first score line to score line on opposite side,  if not, just adjust the measures.  

So, mine was 4x6,  I decided to give a 1/4 inch ease around so, 3.5 X 5.5 plus one inch  on the edge for the spine, so was my starting measure 3.5 X 6.5  I cut 3 papers, this side.  Scored the first one, one inch from edge, then next 1.5 and the last  2.

Here they are scored.  For the first set I scored on the long side.  


Stack and staple them together.  This is attached to the center panel, I place my close to the right edge and centered top to bottom.  

For the second step, I repeated, this step, but wanted the spines to be at the top and open down.  Measured as before, only now it is 3.5 " X how far down the page the first will go + 1".. I only wanted it to cover 1/2 of the 5.5 inches, so my paper was 3.5 X 5" scored the same 1", 1.5 " and 2".  This will go to top of page

All that was left was to cover the spines, adding folders, papers, envelops in various configurations to create the "guts".  There are many blogs and ideas out there to make these into an album.  I just started covering and adding.  Here are a few of what I did.


Ok onto the the album cover.  I used Karens Video and directions but changed out the measurements.  

My folders are roughly 4.25 X 6.25 when full and closed.  (they bloom a little)..So I wanted a 1/2 inch all around.  So I cut 2 chipboard pieces 4.75 X 7.75.  I needed the spines.  The bottom spine was 1.75 the top spine 2.25. All were 4.25 inches long.   This gives a room for the top to fold over and make a box.  The front piece is 4.75 X 3.5 and cut out the corners.  Assemble per Karens video.  The one difference was that I needed to splice 2 12X12 pages together as my project was closer to 23" long with turn over.  I did this with score tape.  In hind site, I should have just bought some Kraft wrapping paper, next time.  

Ok Album finished.  inside and out.  (file folders not added).  Coated the entire thing with Collage Medium and decoupaged the  Seed Packet images that I had printed off the internet at 300dpi.  I created the :"Seeds for thought" tag, in Photoshop using the fonts suggested for this kit and decoupage this to the flap.  Then I just needed patience to let it all dry. And don't rush this, it must be  thoroughly dry.  

Next step was to color and enhance the cover with Distress crayons.  The nice thing is if you don't like it, just wipe off and start again.  The Collage Medium is a great product.  Lastly I  Stenciled the above the saying with paste and the stencil included in the Kit.  When I scraped off the past in areas I did not want it, the crayon was removed.  I liked it and left tin.  Then let it dry and then colored with the crayons some more.  Final step was to add some distress ink to the edges.  

Now, all that was needed was a handle, which I made from twine and added my signature and date on the bottom.  Once finished, I used the scraps and leftovers to make the tags.  Had I done this first I would have run out of paper.  

I did use a velcro dot to hold my folders closed and then adhered them into their place on the inside. 


This is hard to capture as there is layer upon layer of lovelies.  But the best view is this.


Well that is all folks, thank you for stopping by.  Your next stop is; Cheryl.

Happy Crafting,
Josette

Links:
SaveSave

Friday, July 21, 2017

Foiling Continued

My last post for the blog hop explored many foiling techniques and I mentioned there was one I needed to play with more before sharing.  Well I did and I would like to share those final techniques in this post.  There are many more things that can be done with foiling, but I am focusing on general techniques and then we can explore in future post how to incorporate these into your projects.  Lets start with a photo or two.


This technique combines foil, glitter and die cuts.  Are you ready.

Lets us look at what we need first:
A die of some type.  In the examples I used a die from Hero Arts, .butterfly-confetti, Tim Holtz, paper-cut-bird- but any die will work with the technique, even single dies as we will see later.

Need a sheet of 2 sided adhesive;  Here is what I learned about this.  The first time I tried this, I did not have any sheets, just tape.  So I covered my paper with the wide taper.  But the line show.  I left it on my desk and worked around it, and the longer it sat and was moved or covered by "things" the more obvious the line became.  So I bought the sheets and repeated with stellar success.

The third and most important part is the backing sheet from "something".  I used the backing from a magnet sheet for my first try, then I moved to just using the backing from the sheet of double sided tape.  All that is left is glitter, foil and imagination.

READY.

I started out by die cutting the backing sheet.
applied the 2 sided tape to my card stock, removed the backing sheet and laid this over the sticky surface.  Burnished down with another piece of the backing sheet.. DONT TOUCH the sticky.

added white glitter or glitter of your choice, I used Elizabeth Craft, Warm Diamond Microfine.  and burnish in.

Carefully remove the mask.  This is the hardest part, just be patient and if you don't rip it, you can reuse.

OK, for the first example I started with the bird.

Be stingy with laying down the glitter and burnish it in as you go, don't remove the excess yet.

All that is left is to lay down foil, rub in hard and remove the sheet, repeat with different colors until all finished.  Then brush away the rest of the bird glitter, and add more white glitter the the whole card, burnish in, and finish your card.  Easy!!!

Lets look at the rest:
With this card no Foil.  I just used different colors of glitter and filled in the die cuts.  If you double click you can get a picketer and see how the mask is with the glitter. In this example.  I did not remove the mask first, just filled in the holes, burnished down, then removed mask and added white glitter.   I thought this was just too busy so. . . . . . . .

after removing the backing paper, I placed individual die cuts onto the sticky surface.  Added white glitter to the background and then removed the mask.

Then I applied foil to the butterflies.  See those "smudge dots" they were an accident.  Where I put my finger to hold down the foil while I burnished, left these dots.  I liked them so when I was done went back and added more.  This is why you have to use glitter after finishing.  The sticky surface is still slightly tacky when done.  That final glitter fixes that.  Also after cutting this down to size, the sides will be tacky.  I just dipped them in glitter and burnished but baby powder would work too.

All that was left was to make the cards.

All were matted with a gold paper that matched the butterfly tags in this month's Club Scrap Kit, Vintage Botany.  The butterfly cards were placed on A2 card bases.  The bird was matted in addition to the gold with the purple paper from this months kits and then onto a white card base.  Ribbon also came from Vintage Botany.

Thank you for visiting,
Let me know if you have any questions,
until next time,
Happy Crafting,
Josette.

Links:
Club Scrap
butterfly-tags
Vintage Botany Deluxe Kit

other product links are in description above.