Tuesday, November 17, 2015

Club Scrap: Team Challenge: A Holiday Delight

This month our challenge was to use the Holiday Unmounted Stamps to create our challenge.  So, I am here with 3 fun cards!!!

A Spinning Gnome.

The first card is using that delightful Gnome.    I wanted it to be 100% from the kit. So, red, green and gold it is.   While this looks complicated it is very simple and straight forward.

First step is the Gnome.  Don't you just love her.  Well I pulled all the papers and ribbon that I intended to use and chose my markers.
I colored 2 Gnomes, and fussy cut them out.  The red scribbles in the background, are the red markers used to create that skirt and hat.
Score-tape added to back.  Note that the edges of the clothing have been colored on the back.  This is because they are not symmetrical and the backs will show in places.  

Gold thread added to the top and bottom of one of the Gnomes, then they are "glued" together.  I also added Glossy Accents to the very edges of the Gnomes where the thread exits to make sure it holds.
Using a die, I cut a window into the card base.  This is a 5X 7" finished card.  Needed the height to accommodate the size of the Gnome.  A larger die was used to cut out the red frame.  The Gnome is sandwiched between these two layers.
After the frames were glued together, I doodled around the red frame to add interest.  You can see the cord trapped between the two layers.

The rest of the card is basic.  I cut another 5 x 7" plus flap out of the patterned paper in kit and adhered it to the right edge of the card.  Making it a tri-fold.  Then added a sentiment.
Used the cutout from the red window for the saying mat.  This is a spinner.  You twist the Gnome, close the card.  Then when the recipient opens it, She spins around.
Tried to catch her spinning, not a good photo, but you can see how I compensated for the images not matching.  
The next card is a Lever Card:  I found the instructions here.Lever Card Tutorial.

There are some alterations to this card.  First it is a 5.5" x 5.5" card.  I used a set of square dies to create this card.

First I cut out the largest square out of the first card base.  Then using the middle die cut an opening in a piece of red card stock.  Here is a trick.  Cut everything out, leaving a bit large, glue together and then trim.  Perfect fit~~
Match everything up and trim.  
Using the same die as the red frame, cut out the lever.  The card has been folded and scored into 1/4ths.  The lever is slightly less than 1" all around.
 Another view, the lever mechanism and the front of the card.


Following the instructions, put them together.  Using the smaller die, I cut out a square, stamped my image in Brown Archival, Heat embossed in clear and shaded it with Copics.  Then I inked the image with Distress Ink: Fired Brick, and rounded the corners of the image as well as the lever.  Added some embellishments, a ribbon, front done!  It looks like a cookie cutter.

Finished the inside by matting and adding sentiments, more embellishments.  I even covered the inside area.


Now onto the final card: Card 3

This one is my favorite, but the most difficult for me to put together.  Partly I knew what I wanted, but just couldn't get it to come together.  After many failed attempts, I slept on it and the solution came to me.

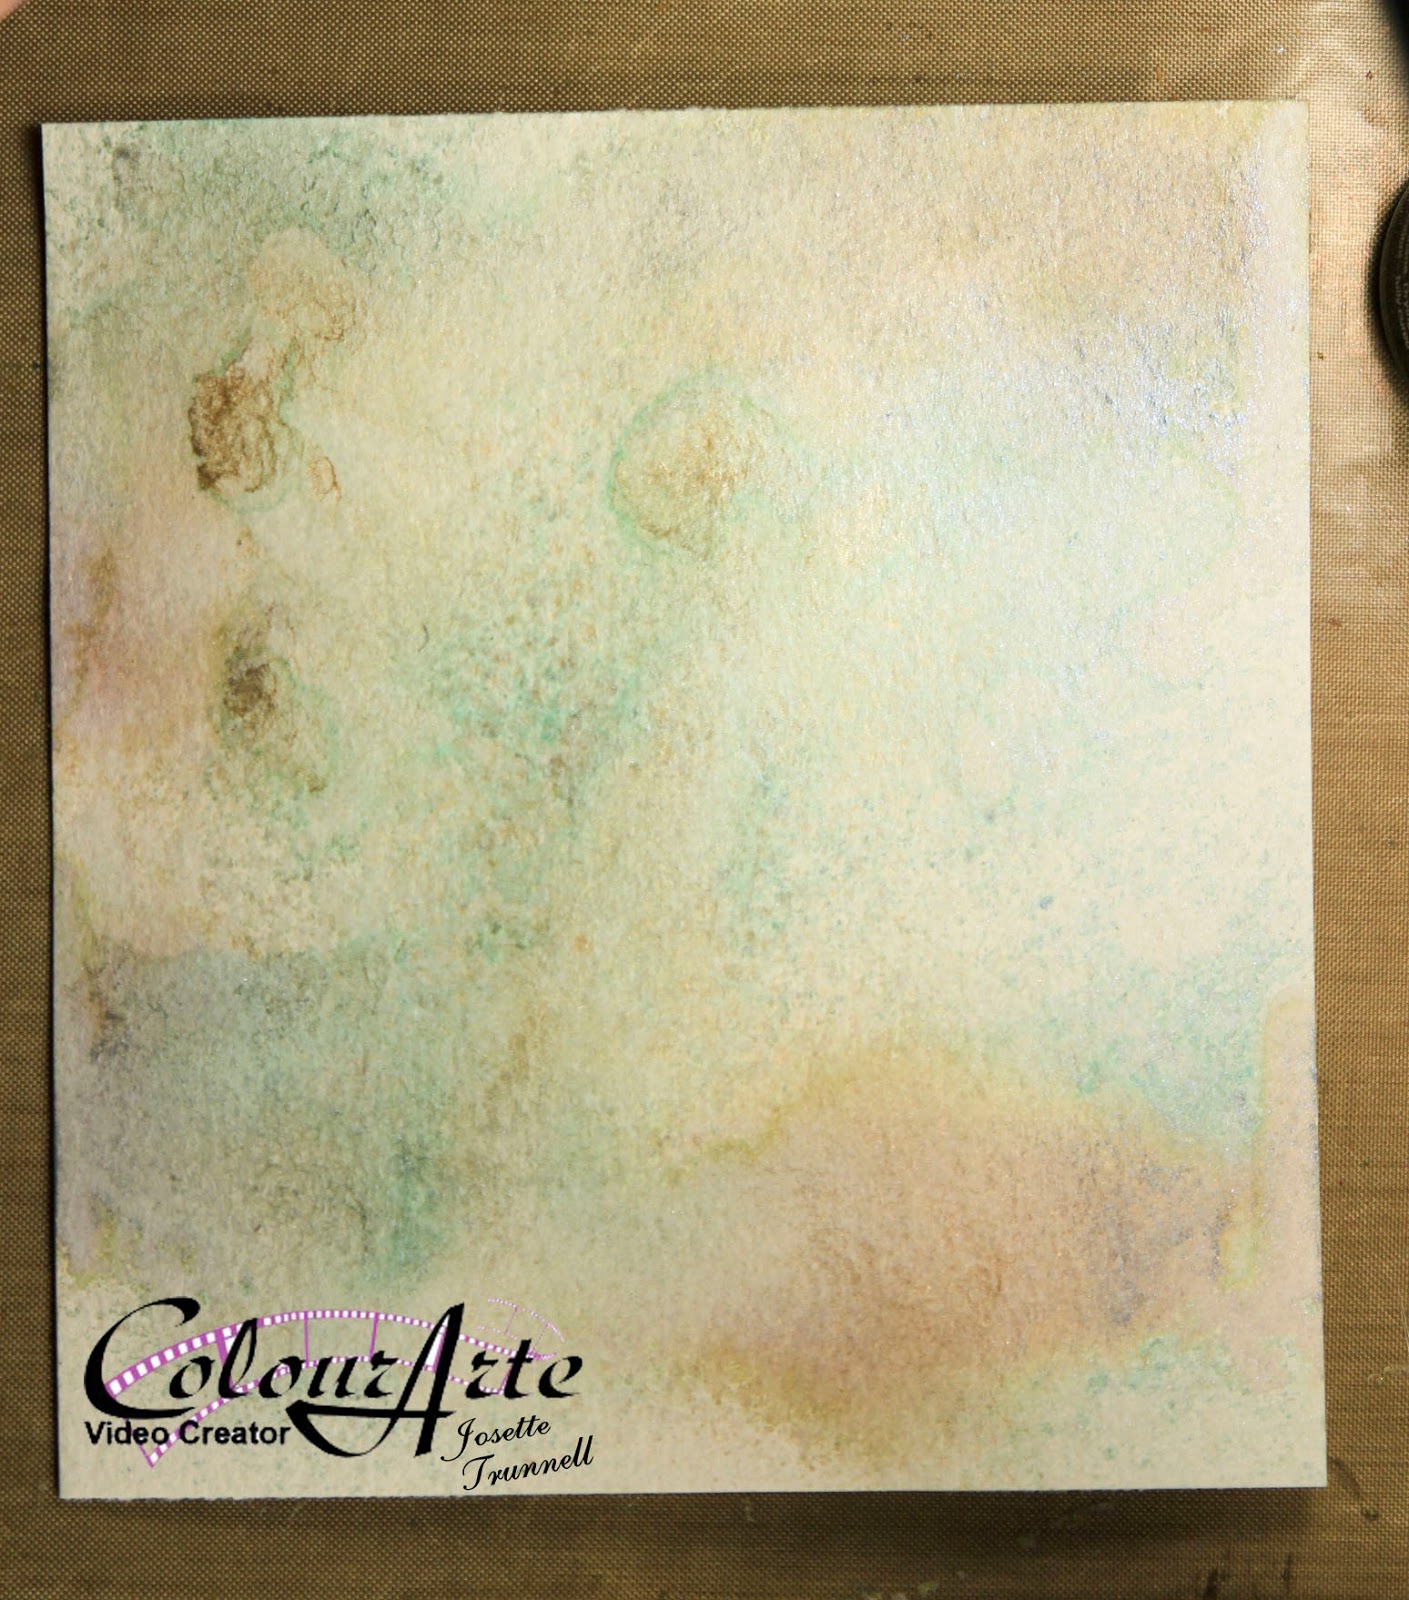
I was trying to use a background that I had created for a ColourArt project and had way too many!!!
That project and discussion is in a blog posting dated September 14 and is the background that was misted through a texture plate.  I started by stamping directly onto that, and was going to use it as the entire card base.  But it was too flat and uninspiring.  So I cut it out and distressed the edges.

You can see the blue stenciling in the background.  This was stamped in a grey archival ink and heat embossed in clear.  The paper is Water Color, 140# Strathmore.  Distresses wonderfully.  After distressed it was inked with Brushed Corduroy and Antique Linen.
Further distressed with water and more tearing of the paper.  Lastly, while still damp, was shaped.

But what to do with it.  Well I love the folded edge card on the Club Scrap Blog by Julie.  The Club Scrap Blog: Corner Card but my image was too big.  Oh well, adaptation is the name of the game, so I adapted.
Julie's instructions and the link to the video is all I need to say about it.  Once I had my card base, I put everything together, added a sentiment to the front and to the inside.  I did cover the triangle area on the inside with the piece I had cut off.
The rest of the card is just layering on paper.  I did stamp the snowflake stamp and heat emboss with a glittery embossing powder, die cut with a circle punch and added a bit of gold ribbon.  I think it is elegant and truly fits my style.

Well that is all for today,
Visit again soon and Happy Crafting!
Josette


Links and Supplies used:
Club Scrap
Cookie Stamp Set
Gnome Stamp Set
Paper:  Moraccan Spice
Supplies by Card:

Gnome:

Copic:
R:      20,24,29,37,59
YG:   95,97,99
YR:   24
Y:      19
E:      000,00,11,13,35,37
Gel Pen in Copper and White
Pentel: Silver and Gold
All Paper and Ribbon from Moraccan Spice Paper pack.

Gingerbread Cookie Cutter:

Green Paper from a previous kit, Red Bazzil
Embellishments: Twimkle Goose bumps by Queen and Co in Red
Archival Ink:  Potting Soil, Red Geranium
Clear Embossing Powder:  Hero Arts
Distress Ink:  Fired Brick
Copics:  W0, 01
Die from My Favorite Things, Stitched Squares
Paper: Print:  Bobuuny: Elf Magic
Ribbon from Stash

Sugar Cookie:

Kraft Paper came from Moroccan Spice, other paper from Stash, unknown manufacturer
Water Color Paper:  Strathmore 400 series, 140# Cold Press
Stencil:  Gina Laser Designs, Twined Hearts
Spray:  Primary Element: Beach-House Blue in mini miste
Archival Ink:  Grey
Embossing Powder: Clear, Hero Art
Versafine: Onyx Black for sentiment
Gold Twine
Embossing Powder for Snowflakes:  Seafoam and Mediterranean Blue from Sprinkle and Sparkle


Flowers, Flowers and More Flowers, all from Scraps!!

Hi, today I am posting on behalf of Sweet Stamps.  This is a fun card.  All made from scraps or failed background attemps.   Whenever I am creating backgrounds, I make several.  Some work and some do not.  Also when I am stenciling, or playing with paint or ink on my craft sheet, I use a left over pieces of Water Color paper to mop up the excess paint/ink.  I keep these in a container.  You never know when there might just be the right combination of colors for a project.

A tip:  When purchasing Water Color Paper, buy the largest size sheets available and cut it down to size. I buy mine at Hobby Lobby or Michaels when they have the sale, and then cut them up at once.   I cut mine at 5 X 6 or 5 X 7 and store them together.  I leave a few the width of the paper by 5" wide (5 X 11 or so).  It is more cost effective than purchasing them pre cut.  Cutting them up saves on space and saves on time when you "just need another piece".  At the end of the cut there is always a 2+/- strip, I put these on my work bench and that is what I use for "mopping up".

Ok here is the Card!!
The entire card, including the ribbon was made from left overs and scraps.  
The base is a piece of water color card that I had watercolored.  It came out to purple for the project so was thrown into the bucket.

The flowers were die cut using various dies from Sweet Stamps:  Visit their blog for links to all the dies and stamps.  Sweet Stamps Blog

Here is an example of one of the papers that came out of my bucket.  This was a spray, direct application, I am thinking it is either a delusion or Calico Studio.

This sample is a failed background.  The paint was left on my craft sheet.  The paint had been applied to a stencil.  When the stencil was picked up, I sprayed the remainder with water and laid down a piece of paper.  Too much water and it bled, not distinct enough.  But makes great flowers.  

I flip over the paper and applied a piece of score tape to the back.  Then when die cut, all the parts are sticky.  
Here is another piece of sprayed paper, score tape has been added to back side, and then the dies are cut.  
Closer view.
The next part was tedious.  Some of the inside petals were swapped out with another die cuts petals.  This is where the score-tape came in handy.  I picked up the petal from one with tweezers and placed it into a different petal, inlaying.  The Score tape kept everything together.  Some I only used the frames and discarded the insides of the petals.  

On 2, I needed to use an additional piece of score tape.  I cut it into a square and applied it to the back of the flowers.  When I was done, I just cut "close" to the flower, removed the backing and dipped the flower into Glitz glitter.  Burnished in.  This gave me a halo of glitter around the flower and took care of the stickiness.  
 The flowers were arranged onto the mat card, a ribbon, that was left over from another project, was added to the bottom.  I found a piece of left over cardstock that had been misted with a gold spray, stamped the sentiment in black, heat embossed with a clear embossing powder, die cut and popped it up on the card.  Final step was to mount on a card base.  This too was retrieved from my scrap bin so that I could say this was a 100% scrap-paper card.  

A different view.  This card was difficulty to photograph with all the glitter and gold paint/ink, but in person it is a show stopper.

Thank you for stopping by,
Happy Crafting
Josette


Other supplies:  Various inks and dies
Strathmore 400 series, 140# Water Color Paper, Cold Press
Glitz glitter
Score tape
Seam binding
Black Pigment ink and Clear embossing powder
.  

Sunday, November 15, 2015

Sweet Stamp: Anything But a Card Challenge

Stop by Sweet Stamp Blog and see all the wonderful creations for this Challenge.  I created a mate for my ColourArte Shadow Box.  Together they will make a nice arrangement.

I used the same background, or rather similar to the background used on the ColourArte Butterfly piece.  The video that shows this technique is located here:  YouTubeVideo: Reverse Stenciling.

I started with the Stenciled background, cut it down and matted it onto a Bronze Shimmer Cardstock. Then I distressed the edges and curled the corners.

Using Piccolo's from Sweet Stamp (product list in description) they were covered with enamel powder and heat set.  Several different Enamel Powders were used but all had the molten metal as the base layer.  Bow was created from seam tape and was colored with Distress inks: Picked Raspberry and Festive Berries.  Then just before completely dried was spritzed with ColourArte: Ancient Coin that had been mixed with water in a mini-mister by Ranger.  Once dried, a bow was tied.  In the video is a demonstration of the bow being tied.

The large butterfly is a Piccolo from Sweet Stamps and the smaller one is a Sizzix mover and shaper die.  Both were coated with Piccolo enamel adhesive and heat embossed using Enchanted Aubergine from Sweet Stamps.  The final step was to adhere some crystals in various purple shades to the wings.
The entire project was placed into a 5 X 7 " Shadow Box frame.

I think it turned out very well.  The organic nature of the gears with their gold shimmer adds to the elegance of the jewel encrusted butterflies. Thank you for stopping by to share my "Little Bits" of inspiration.
Happy Crafting
Josette

Supplies and Links
YouTube ColourArte Video
Previous Blog posting:  November 14, 2015, Reverse Stenciling
Adhesive Fluid_for_Enamel_Powders 
Enamel_Powder_
ENCHANTED_AUBERGINE
Fine-Detail-EP-MEDIEVAL-METALS
MOSSY_GLEN
I also used a very small amount of a reddish orange embossing powder to simulate rust on the gears.  Real Rust by Sweet Stamps would be a good choice
Piccolos:
Vintage_Gears_Large_
Vintage_Gears_Large #2
Large_Butterfly_Accents

Saturday, November 14, 2015

ColourArte Video Time: Reverse Stenciling, Butterfly Shadow Box

It is time for another project for ColourArte.  I love backgrounds.  If I could just make backgrounds I would be happy.  Backgrounds however, are nothing without the rest of the story.  So lets discuss the background as well as the finished piece.  This project's technique is how to Reverse Stencil with ColourArte Silks.
The Background
As with all techniques, there is a learning curve to get the right combination of products.  I tried stenciling first and then coloring the background.  While it worked, it lacked the depth of this example.  I tried various products as well.  Silks gave me the softest and most distinct image transfer.
Here are a few of the backgrounds that were created during my exploration of this technique:
This is the stencil using Radiant Gels and is done in the traditional stenciling manner.  Note the "gears" are the white space.  If you want the opposite from your stencil, this technique fits the bill.  I tried reversing this stencil, it worked but the finished product had a lot of texture but no distinct image.  Might work better with a different stencil.  This one had a lot of "plastic" to cover.
Another example, this one is using Silks and is reversed Stenciled in the same manner as demonstrated in the video.  Not bad, will use if for another project later.  To "bold for this project.  
Background prior to stenciling.  This was Water Color paper misted with a mixture of water and Primary elements.  I went with less concentration of color to give a soft background with areas of more intensity.
After I finished the background the challenge was to find a way to use it, so let see what I came up with.
The background supports the focal images without being overwhelming.
The flowers were misted and daubed with several Radiant Rain Products and Primary Elements.  

The ribbon was created by spraying and daubing Radiant Rain products as well as the same sprays used on the background to create a harmonious composition on Seam Binding.
Beginning of ribbon coloring.  Once the ink is laid down, water is added and then the ribbon is kneaded to blend and distribute the colorant.  I appears very bright and bold here, but once dried, matched the background very well.

The very back, background was made by spritzing the Primary Element spray through a texture plate by Gina Designs.
The ink was blotted up to give a faded distressed feel.  This wasn't necessary as most of it was covered with the focal background.  But is a good technique to use for another project.  
The most rewarding part of this project were these butterflies.  I had received a sample of Embossing Powders from Sweet Stamp.  I was playing with them when the idea came to me to include them over the background.  I was going to add gears and metal to make a steampunk project, but the idea of adding the butterflies to the gear background seemed right, Organic meets natural.  But I needed them to match my project.  I did not have any powder that matched.  After much thought decided to create my own.

I combined:  embossing powder fine detail, with chunky. Glitter, both fine micro glitter and Distress.  Distress Embossing Powder, Glittered Embossing Powder, plus some of the samples that I had received from Sweet Stamps.

Once embossed, they were further enhanced with the Emperor's Gold Silk and Radiant Rain Sprays.

Final step was to distress the background and apply ink to the edges and enhance the colors within the background.  I find that Distress Ink goes with everything!!
Distressed and ready for ink.  Tumbled Glass and Walnut Stain Distress.
Final product!!  Beautiful.

Link to YouTube: Watch the process

Hope you enjoy!!
Until Next time, Happy Crafting
Josette

Links:
Colour Arte:  http://colourarte.com
YouTube: ColourArte Channel

Supplies:
ColourArte
Radiant Rain:            Egyptian Gold Dauber
                                  Nutmeg Spray
                                  Guatemalan Dauber
                                  Teal Zircon Spray
Primary Elements:    Beach-House Blue
                                  Ancient Coin
                                  Burnt Umber
Silks:                         Emperor's Gold
                                  Olive Vine

Other Products used:
Strathmore 400 Series, Cold Press Water Color Paper, 140#
Distress Ink;            Tumbled Glass
                                Walnut Stain
Dies:                        Sizzix: Movers and Shapers butterflies , and Large Butterfly
Sweet Stamp:          Enchanted Aubergine Embossing Powder
                                Mermaid's Tears Embossing Powder
                                Piccolo Enamel/Embossing Powder adhesive

Products used to create embossing Powder mix:
Sparkle and Sprinkle: Opaque:  Candlelight and Mediterranean Star
Tsukineko:    Verdigris
Distsress embossing powder:       Walnut Stain
Distress Glitter:  Tarnished Brass
                            Peeled Paint
                            Peacock Feathers
Hero Arts:  Clear
Stamendous: Aged Gold, Aged White,


Friday, November 13, 2015

Club Scrap Technique Challenge: Club Scrap

The challenge this month was to use Water Color Pencils and color an image.  Well this stamp said Tile and birthday.  So this is what I cam up.  Stunning I say!!!

Lets see how I made it:

I started with the stamp on Water Color Paper.  My favorite paper is Strathmore 400 series in 140# Cold Press.  A bit thicker and definitely more thirsty than some, but I find it doesn't buckle as much and holds up to a ton of water.  First stamped in a grey archival ink and then  I colored the image with my Derwent Watercolor pencils.  After all the coloring was finished, I used a water brush to activate the pencil and move the color around.  Adding more as needed to created shading.  
After activating with water.  I could not resist embellishing this image.  So I doodled around the edges and on the stamp itself.  Then added Wink of Stella in Clear to give it just a hint of shine.
This was cut to size and matted on Purple and Gold Cardstock.  The purple is from Moroccan Spice Kit, the gold is a Core'dination card stock.

The rest is easy.  The card measures 5 X 7 "  So a card base of that size was cut out of the Red Paper from Moroccan Spice.  A mat was cut out of the Purple and Gold paper and measures: 4.75 X 6.75 "
A scrap piece from the background mat, was turned over, stamped and heat embossed with Gold Fine Detail Embossing Powder.  I added ribbons from the Kit, Done!!

Love this Card!!  Hope you do to.  Be sure and stop by Club Scrap Technique Posting and enter your project using this technique.


Happy Crafting,
Josette

Supplies:
Derwent Water Colors;
Imperial Purple 23
Crimson Lake 20
Deep Vermillion 14
Deep Cadmium 6
Prussian Blue 35
Lt. Violet 76
Blue Grey 68
Archival Grey Ink
Delicata Gold Ink
Ranger Fine Detail Embossing Powder: Gold
All paper and ribbon came from: Moroccan-Spice-12x12-Assorted-Paper-Pack

Monday, November 2, 2015

Sweet Stamp: A Walk in the Park, Part 2 of Copic Coloring.

Here we are ready for part 2 of my discussion regarding Copics.  I am a fan of using my paper to help me choose which markers are best.  When I use colors and the associated "logical" blending group, the image often will not go well with the paper once complete.  This process of choosing markers based on colors within the paper, seems to solve this issue.
So in Part 2,  I will show this process in action!

The Card
You Tube: Part2, The coloring.

This card is very straight forward.  The image was a digital from Sweet Stamps. Glam Girl Heather.
After re sizing in Photoshop, I printed it on my Canon Ink Jet printer.  Neenah Classic Crest, Solar White 80# is primarily what I used when coloring with copics.

Using the Paper, Sweet Lizzy, Lucky Charm by American Crafts, the Copic Markers were chosen.  The video shows this process.  Then the blending colors were added and the image colored.
Final step was to mount this onto an 5.5 inch by 5.5 inch White Card Base.  The seam tape was colored with the same Pink Copic markers, a perfect match.

A closer view of the Frenchie.  The coloring for this image was inspired by a photo of my own TigerLilly, right down to those pink ears.
For additional information and detail about this card, Visit Sweet Stamps Blog.

Happy Crafting:
Josette

Copics used:
B:   0000,37,39,45,91
BG:0000
R:   05,24,59
RV:32,93
G:  00,12
YG:11
Y:   13,15,35
T:    01
W:   0.01,03,05,07,09
110

Other supplies:
Wink of Stella, White Gel Pen, Black Gel Pen.
Versafine Onyx Black
Paper: Lucky Charm, Sweet Lizzy
Seam tape
Stamps and dies to complete the project.