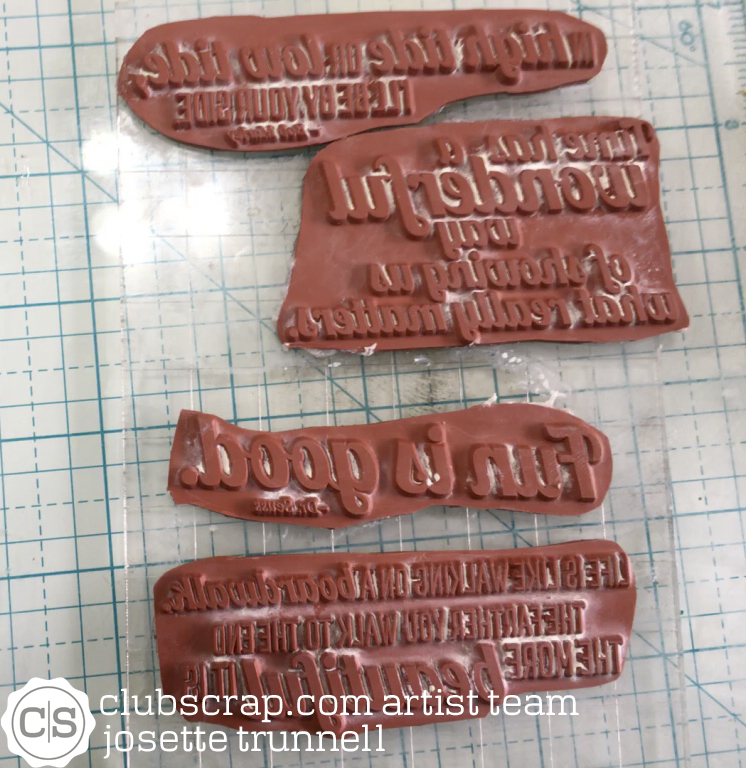
So lets, start by looking at the cards:


Ok, lets get started:
For card one, lets start with the background. I love alcohol inks, but I do not like the glossy paper that works best. Did you know you can float these in water and they will attach to regular card stock when it is submerged in the water, Oh Yes and it is lovely.


I do not have photos for the next step as I could not get them to show what I was doing.
I cut down the card stock to match the outside of my frame that I prepare in the next step. And then ran it through my Zyron. I cut a frame from 2 pieces of white card stock, glued them together and placed them so they went around the outside of my background piece. Then I covered the entire Sticky surface with clear micro beads.

Next the critters:
I started by stamping them onto Grunge Board with Archival ink in black. Then covered them with a layer of Distress Crackle Paint.


Next the tag. This was a left over piece from a failed attempt from an earlier project.

I sponged Broken China and Cracked pistachio on White Card Stock. Stamped the sentiment and cut out with a die.
Now for the Hypno Paper, I used it as a mat. The colors in one of the papers matched my critters. Used Neenah Desert Storm for the card base, assembled the parts, added a teal bow. Finished.

On to Card 2:
I love Distress and wanted this post to explore the uses of Distress Stain. I have them all, rarely use them, so I thought I would see what I could do with them and no other product.
I found my tag stash, and started to mix and play with color. I used the colors in the Hypno papers to guide my choices. In the end I chose Cracked Pistachio, Fossilized Amber, Abandoned Coral, and Picket Fence.
The first technique was to directly apply the ink to the tag.

Apply Stain Directly to Tag

Spray with water

I added yellow, more water and let run and blend.

Dry either by a Heat Tool or Time
I next arranged my stamps, stamped on the tag, and then cut it down to size. I used my Misti and stamped the entire tag at one time, using Archival Ink in Black and then Heat Embossing in Clear.
Lastly I cut down the Hypno paper as a mat, and mounted the stamped image onto an A2 Card Base, also Neenah Desert Storm.

Card 3 is basically the same technique as Card 2 but rather than direct application I swiped it through the ink and added the Picket Fence.


The White, gives a Marbling effect. It took several tries to get this one right, but once done, it was worth the effort. I did not add any water, which probably caused issues with getting it to spread onto the paper, but I did not want it to run or to dilute.
Next once dry, I stamped several of the images onto the card base using the Picket Fence stain as the "Ink".

Here are 2 tags, the one used on on the card, Left, was stamped with Picket Fense Stain. the one on the right was stamped with Picket Fence Acrylic Paint. Both tags were created the same way, but with different inks. I liked the one on the Right the best, but when I stamped my images, it was not what I was after, so I went back and used the tag on the left.

I used the swimsuit stamp and stamped several onto the tag in Potting Soil Archival Ink and heat embossed in Clear. Cut down the tag to fit an A2 card.
Again, I used the hypno paper for the mat, Desert Storm for the card base. Used a piece of the Hypno Paper to stamp the sentiment (used back of paper) and Staples to adhere the tag and the sentiment strip to the Mat. I added a ribbon and Finished.

Hope I have encouraged you to play with your Distress Stains and explore the Boardwalk.
Be sure and stop back for our Blog Hop June 29. Also I will have a special technique to post about later this week, so stayed tuned. A preview of the technique can be found at: Sweet Stamps Blog.
Your next stop along is: DEB
Happy Crafting,
Josette
Links: Club Scrap
Thanks for sharing these techniques!
ReplyDeleteNice cards.
ReplyDeleteNice cards.
ReplyDeleteOh wow, set of great cards,Josette and thanks for sharing all those techniques.
ReplyDeleteOh wow, set of great cards,Josette and thanks for sharing all those techniques.
ReplyDeleteGreat cards and techniques!!
ReplyDeleteWow, what great techniques. TFS!
ReplyDeleteJosette, I love that you challenge yourself to use the current month kit with these team challenges - You ROCKED IT!
ReplyDeleteOnce again...I learned so much from you! Love the crackle technique.
ReplyDeleteOh wow I love all this techniques! So much inspiration here!
ReplyDeleteGreat Cards! Love the crackly sea life! :)
ReplyDeleteawesome cards!!! Love the breakdown!
ReplyDeleteAwesome techniques. I haven't used the crackle in a while and really love the effect you created. Fabulous projects!
ReplyDeleteI just love the crackle paint "shells"!
ReplyDeleteThanks for the sharing such a fun technique. Love those fish
ReplyDeleteThanks for the sharing such a fun technique. Love those fish
ReplyDeleteGreat techniques! I like the floating alcohol inks! Will have to try that!
ReplyDeleteLilian
The Leaf Studio