Showing posts with label paper crafting. Show all posts

Saturday, November 14, 2015

ColourArte Video Time: Reverse Stenciling, Butterfly Shadow Box

It is time for another project for ColourArte.  I love backgrounds.  If I could just make backgrounds I would be happy.  Backgrounds however, are nothing without the rest of the story.  So lets discuss the background as well as the finished piece.  This project's technique is how to Reverse Stencil with ColourArte Silks.
The Background
As with all techniques, there is a learning curve to get the right combination of products.  I tried stenciling first and then coloring the background.  While it worked, it lacked the depth of this example.  I tried various products as well.  Silks gave me the softest and most distinct image transfer.
Here are a few of the backgrounds that were created during my exploration of this technique:
This is the stencil using Radiant Gels and is done in the traditional stenciling manner.  Note the "gears" are the white space.  If you want the opposite from your stencil, this technique fits the bill.  I tried reversing this stencil, it worked but the finished product had a lot of texture but no distinct image.  Might work better with a different stencil.  This one had a lot of "plastic" to cover.
Another example, this one is using Silks and is reversed Stenciled in the same manner as demonstrated in the video.  Not bad, will use if for another project later.  To "bold for this project.  
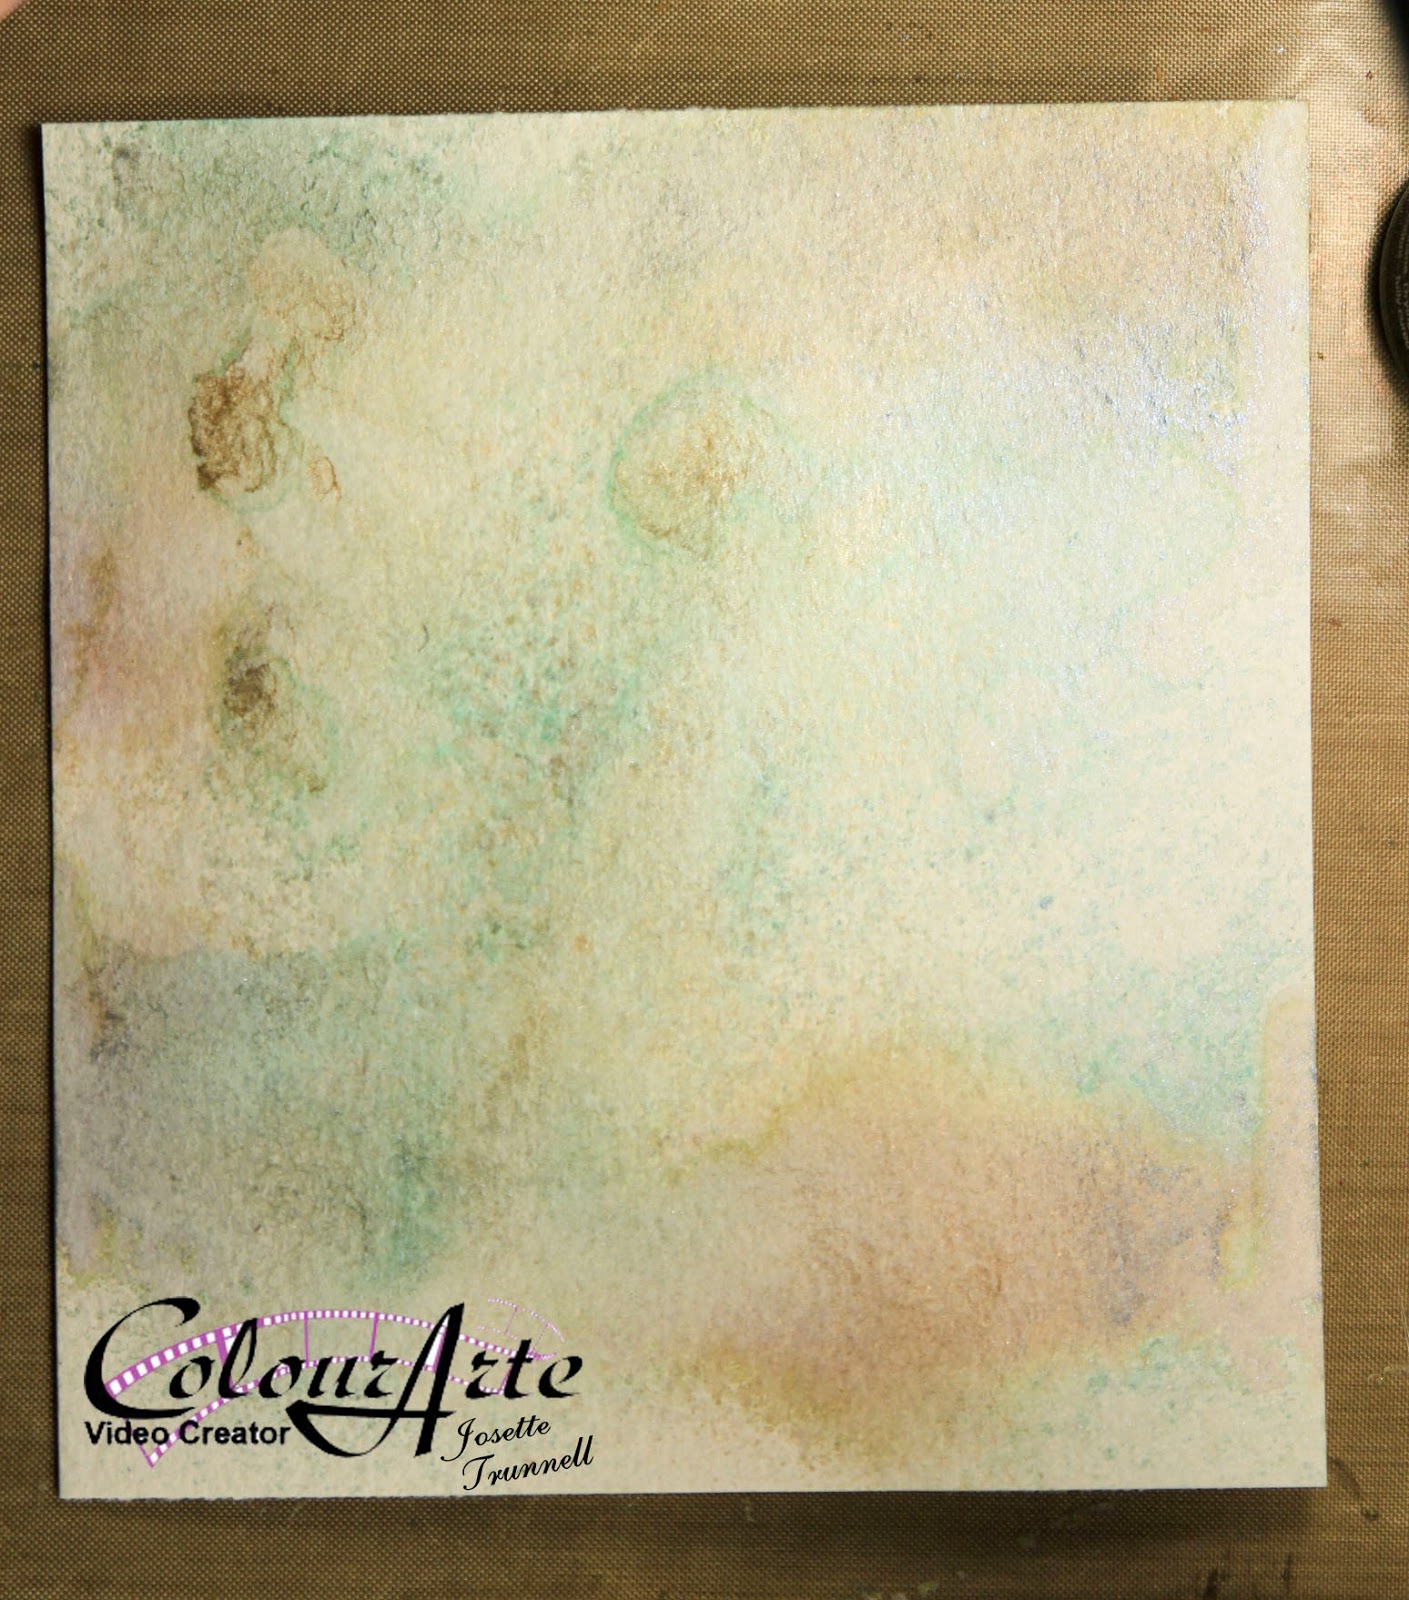
Background prior to stenciling.  This was Water Color paper misted with a mixture of water and Primary elements.  I went with less concentration of color to give a soft background with areas of more intensity.
After I finished the background the challenge was to find a way to use it, so let see what I came up with.
The background supports the focal images without being overwhelming.
The flowers were misted and daubed with several Radiant Rain Products and Primary Elements.  

The ribbon was created by spraying and daubing Radiant Rain products as well as the same sprays used on the background to create a harmonious composition on Seam Binding.
Beginning of ribbon coloring.  Once the ink is laid down, water is added and then the ribbon is kneaded to blend and distribute the colorant.  I appears very bright and bold here, but once dried, matched the background very well.

The very back, background was made by spritzing the Primary Element spray through a texture plate by Gina Designs.
The ink was blotted up to give a faded distressed feel.  This wasn't necessary as most of it was covered with the focal background.  But is a good technique to use for another project.  
The most rewarding part of this project were these butterflies.  I had received a sample of Embossing Powders from Sweet Stamp.  I was playing with them when the idea came to me to include them over the background.  I was going to add gears and metal to make a steampunk project, but the idea of adding the butterflies to the gear background seemed right, Organic meets natural.  But I needed them to match my project.  I did not have any powder that matched.  After much thought decided to create my own.

I combined:  embossing powder fine detail, with chunky. Glitter, both fine micro glitter and Distress.  Distress Embossing Powder, Glittered Embossing Powder, plus some of the samples that I had received from Sweet Stamps.

Once embossed, they were further enhanced with the Emperor's Gold Silk and Radiant Rain Sprays.

Final step was to distress the background and apply ink to the edges and enhance the colors within the background.  I find that Distress Ink goes with everything!!
Distressed and ready for ink.  Tumbled Glass and Walnut Stain Distress.
Final product!!  Beautiful.

Link to YouTube: Watch the process

Hope you enjoy!!
Until Next time, Happy Crafting
Josette

Links:
Colour Arte:  http://colourarte.com
YouTube: ColourArte Channel

Supplies:
ColourArte
Radiant Rain:            Egyptian Gold Dauber
                                  Nutmeg Spray
                                  Guatemalan Dauber
                                  Teal Zircon Spray
Primary Elements:    Beach-House Blue
                                  Ancient Coin
                                  Burnt Umber
Silks:                         Emperor's Gold
                                  Olive Vine

Other Products used:
Strathmore 400 Series, Cold Press Water Color Paper, 140#
Distress Ink;            Tumbled Glass
                                Walnut Stain
Dies:                        Sizzix: Movers and Shapers butterflies , and Large Butterfly
Sweet Stamp:          Enchanted Aubergine Embossing Powder
                                Mermaid's Tears Embossing Powder
                                Piccolo Enamel/Embossing Powder adhesive

Products used to create embossing Powder mix:
Sparkle and Sprinkle: Opaque:  Candlelight and Mediterranean Star
Tsukineko:    Verdigris
Distsress embossing powder:       Walnut Stain
Distress Glitter:  Tarnished Brass
                            Peeled Paint
                            Peacock Feathers
Hero Arts:  Clear
Stamendous: Aged Gold, Aged White,


Wednesday, October 28, 2015

Club Scrap Blog Hop: Visiting the Big Top!

Welcome to the Blog Hop: you should have arrived her from  Lisa Dolezal  .  If you got lost along the way, you start at the beginning by clicking this link:  Club Scrap

Here we are with the final posting for this Month's Club Scrap Kit: October.  The theme this month is the Big Top.  If you have been following along, you will will note that this is a Vintage French Circus Theme.
One thing I wanted was more animals, I love circus Animals. So I decided that this is the perfect opportunity to add animals into my kit, share some images from my favorite illustrator and discuss Copic Markers.
Papers, Embellishments, Stamps (rubber) Club Scrap
Digital Images: Mo's Digital Pencil

Background:  

I have been using Copics longer than I have been paper Crafting.  My first exposure to these markers was as a way to color metal.  They are an alcohol based marker and will color and patina metal beautifully.  When I started to "play with paper" these were a natural choice to color my images.

But as with all new art forms, there is a steep learning curve.  My path with these markers has never been smooth.  There were paper choices, marker choices and what to color choices.  Some paper worked and some did not, so I turned to YouTube tried to learned how to use these markers on paper.  But the information was very conflicting.  The information available today was not present back then and it was Very Frustrating! Before I started paper crafting, I had taken my basic Copic certification, but I was working with metal and really did not pay close attention to the paper application.  So after many starts and stops, experimentation and frustration, I took a long weekend in Oregon and completed the intermediate certification from Marianne Walker.  She opened my eyes as to what was the possibility and potential of these markers.  I have been coloring happily for years now.  I would like to smooth the path for those wanting to explore these markers, or improve on how to choose and color with them.  To start: the first step is how to choose which markers to buy.  Second is Paper.

So, I would like to explore this fabulous kit and discuss Copics: choices and decisions.  I created a YouTube Video that outlines the use of the Hex Chart and choosing markers based on Paper choice.  This will help guide your choice in which markers you need.  Next posting will discuss Papers and why some use one type and others use another type.  For the most part, most Copic users turn to Neenah Solar White, Classic Crest.  This works 99.9% of the time and is a great way to start.  This is not the same paper you will find at a big box store.  This is a specialty paper and must be obtained from either a supplier for Print Shops or an online retailer that carries copics.  X-Press It and Copic Brand papers are another good option.  

Copic Selection Video

Card 1: The Monkey (Monkey Tricks)

I am going to start with this one because it is the most straight forward.  (The process discussed here was repeated for all the cards.  Paper, Markers, Photoshop, Print, color, assemble. ) I used a Canon Ink Jet Printer.  I have no issues with running ink from this brand.  My HP however, will run. When I use that printer, I heat set with my Heat Tool.  Again, test your printer, because the paper will make a difference.  

I started by finding my images.  I am a fan of Mo Manning and turned to her site for images of Circus Animals.  

I then laid out the papers and ribbon for the card.   The Green and orange papers, plus the ribbon and a brown card stock from a previous kit started me on my way.  

Hex Chart: Sandy Allnock
I placed the papers and ribbon onto the chart and found the Copic Marker that matched as close as possible.  Thus, 3 markers, a green, an orange and a brown were chosen.  From there, using the chart, I chose the rest of the markers to use for blending.  By doing this, I am assured that my finished image will match my papers and ribbon.   
The original 3 Markers:  YG05. YR05, E59, the rest were chosen from around those markers on the chart.
The image was pulled into Photoshop, sized and printed onto Neenah Solar White and colored using the Copic Markers.  The Sentiment was stamped, also on Neenah Solar White with Momento Ink in Tuxedo Black.  This was also colored with Copics and then the edges were inked with Vintage Photo Distress Ink.  Everything was die cut using a set of square dies from My Favorite Things, and the edges were inked on the green and orange square using Distress Ink: Mowed Lawn and Spiced Marmalade.

The brown just was too flat.  So I found a similar color of Coordinations, used a text embossing folder, dry embossed and sanded off the wording.  All were mounted onto a 5.5 X 5.5 card base with only the Monkey and Circus being popped up on Fun Foam.  A ribbon tied, corners punched out, and a pearl added to complete the picture.  Perfect!

Often somewhere in the design process, some changes are inevitable.  I just don't like having to go find a different paper group totally because my image no longer goes with the chosen papers!!

Card 2: The Mouse  (Cupcake Mouse)

I wanted something bright and cheerful.  I was intending on using the Clown Sentiment in the Kit and needed a clown image but not a Scary Clown.  The Quad papers and the pink ribbon seemed the perfect solution.  But the paper is very complex.  The mouse/clown needed to blend with all the varieties of color.  Once again the hex chart guided the way.

A lot of Markers!!!  But it worked.  The image appears to Belong !
After finishing the coloring, it was clear that unless I wanted a gigantic CARD, I needed something different for the Sentiment.  You can never go wrong with a Happy Birthday Card.  

So here is where we talk about ink.  I love Momento when I am going to color with copics.  I don't have to worry about running or fading, no matter how many layers or saturation of ink that I apply.  While some inks claim to be "Copic Friendly", with enough marker saturation, most will bleed or run.  Momento will not,  but, Momento is not a dark black ink either.  If I need a sentiment to stand out,  it needs to be bold and dark.  Thus if I am going to color the image with Copic's I need to protect the stamping from the alcohol ink.  Are you following me?  So, the easiest way to do this is to heat emboss.  Versa fine Onyx Black is the perfect sentiment stamping Ink, it is not a dye ink, will stay wet long enough to adhere the powder to and produces a crisp image, perfect for detail.   So, when I need dark and Copic together, clear embossing powder is the ticket.
Some may wonder why I just didn't emboss in Black Embossing powder.  The answer is in the detail!!
It is very hard to get a fine detail inking with versamark and if the embossing with black is not perfect, it will show up!  

This is a 5 X 7 card.  I glued the two quads together and cut the mat to size with them glued.  No worry about edges that just don't quite meet.  A bow was tied with the Pink Satin Ribbon. Image cut with a circle die and matted with a blue paper that matched the checkerboard print.  Sentiment was inked and embossed then colored with Copics and mounted onto the Pink Paper included in the kit.  
Close up of Mouse completed.  Note the vintage feel.  This was done by light coloring and then using a light grey marker to tone down the image in places.  Grey to ground the image also adds to the Vintage Feel.  Because the markers matched the papers, even adding grey to tone it down, doesn't interfere with the effect.

Card 3:  The Elephant  (I Heart You)

Lets start with the image.  It needed a vintage feel, and I needed it to match the kit.  And it needed to be different from the other two.  Elephants are grey, so I needed to think cooler colors to pull this off.  
Guess which papers I used!  The pink and the Green.  All the choices were based on the papers and ribbon choices just as before.  But the majority of the image is grey.
This is an A2 card.  White Base measures 4.25 X 5.5.  A Kraft mat was cut slightly smaller.  Both the image and green mat were cut with a rectangle die and the corners notched.  Green Pearls adorn the corners and Pink Ribbon finishes it.
The stamp for the sentiment was cut from the stamp.  One small area was masked.  If I had trimmed that area away, the stamp would not stamp as it had originally.  Thus I was able to get "2" stamps out of one.  
RV04 (pink) matches paper and YG03 (green) is perfect.  Grey  is the dominate color.  7 grey markers were used.  I chose the warm grey as this animal is alive and I used the cool grey to tone down the background. The yellowish colors and Blue are for the background and ground.  These were chosen as they balanced the image.


Hope you enjoyed this Posting and will stop back again.  On the first of November I will be back with  another video that will finish up our Copic Discussion.  That will be featured on my YouTube Channel and the card used for the video will be on Sweet Stamps Blog.

To Continue the hop, your Next stop is the amazing  Tricia Morris.  Be sure and leave comments along the way.

Happy Crafting,
Josette

Links:
Club Scrap
Copic Video

Supplies:
Big Top Kit
By Card:
Card 1:  Monkey Tricks Image
Green and Orange Paper from Kit, Brown from Co'rdinations (Ranger), Neenah Solar White.
Green Ribbon and Pearls from Kit
Inks:  Distress:  Mowed Lawn, Spiced Marmalade, Vintage Photo
          Momento:  Tuxedo Black
Pens:  Sakura Glaze in Black (for eyes).  White Gel Pen for light Reflex
Wink of Stella:  Clear, coated pants for a glimmer
Cuttlebug: Embossing Folder: Text
Copics:
YG:  03,05,07,17
E:     33,53,55,59,84,87,99
R:     20
Measurements:
Card: 5.5 X5.5 inches
Mat:  Brown:  5.25 X 5.25 inches
Orange square: 3.25 x 3.25 inches
Green square:  2.5 x 2.5 inches
sentiment and image: 2.75 x 2.75 invhrd

Card 2:  Cupcake Mouse Image
Papers:  Quad Prints, Neenah Solar White 80# image, 110# card base)
Ribbon: Big Top Kit
Inks:  Versafine:  Onyx Black
Embossing Powder:  Clear, Hero Arts
Wink of Stella: Clear and Silver for Pompom on hat.  Also used clear on fluff around neck
Stickles:  Christmas Red, embellishment on cupcake
Sakura: Glaze pen Black (eyes and nose), White Gel for highlights.
Copic: Multiliner black, .25 mm to add detail to mouse and whiskers
RV:    34,91,94
R:      20,59
V:      0000,000   (cupcake frosting)
E:      41,42,53,55 (cupcake wrapper and ground)
B:      0000,000,00,04,05,06,41,52
C:      00
T:      01,03,
W:    00,0,1,3,5  I used several greys, cool, tone, warm to created different "feels"  The mouse is primarily W.  C was used to tone down the pinks, and T became the ground.
Measurements:
Card:  5 x 7 inches
Mat: Quad prints:  6.75 x 4.75 inches
Circle: image:  3.75 inches
Circle Mat:       4 inches
Saying: 2.5 x 1.75 inches

Card 3:  I Heart You Image
Paper:  Pink and Green Card Stock from Kit.  Kraft: Neenah Desert Storm  White: Neenah Solor White, 110# for card base.
Ribbon: Pink from Kit
Pearls:  Green from Kit
Ink:  Versafine: Onyx Black
Embossing Powder, Hero Arts, Clear
Sakura: Black Glaze for Eyes and White Gel pen for highlights
Wink of Stella:  clear, Used on tutu, sentiment and balloon
Copics:
YG:   03,11
RV:   00,02,04
R:     20
B:    000,00
E:    51,53,55
W:   00,0,01,03,05,07
Card:  A2, 5.5 x 4.25 inches
Kraft:  4X 5.25 inches
Green 3.75 X 4.5 inches
Image: 3.5 X  4.25 Inches
Sentiment:  3 x 2 inches

Tuesday, October 20, 2015

Club Scrap: Team Challenge, Quad Prints


Well this was definetly a challenge for me.  I like matchy matchy.  To get my head around how to integrate the colors of the quad pages with the colors and images of this kit, caused me great pause at the beginning.  Then I decided I just needed to think outside the box.  This set of cards is a representation of that creative exercise.  How to create something, when it is not naturally what you would do, but is needed.  Think about a Birthday Card for someone that is really picky or your sense of humor doesn't quite translate to theirs?  What if you always use Pink and Blue and they hate those colors.  What would you make?

So, the bottom line, we need to stretch and grow if we are to become creative and adaptable.  My challenge to you is, to explore your creativity and design skills, make something that is not "your usual". Use different papers, different colors, just see what you can do when faced with a stash of supplies and you need to create something.

So, here is what I came up with.  If you have been watching all the creations coming out of this kit, you will notice that mine do not fit the mold.  Well maybe one does, but the bicycle?  Let us take a closer look and discuss the elements.  And the Creative Process
Quad Prints
Quad PrintsQuad Prints

Card 1:  The Circus

This was the first one I came up with.  It does use the circus theme.  I wanted to continue with my Masking exercise from the Panda cards, so this is masking.
 First I stamped the Big Top Tent, in Distress: Fired Brick and heat embossed in Clear Embossing Powder.  The Mask was applied and the Ferris Wheel Stamped, in Versafine Onyx Black and heat embossed.  This picture is showing the mask.  After the stamping and coloring was completed, this was fussy cut.  I had intended to use this as a Silhouette, but it isn't Seattle or New York, so I moved on.
Fussy cut and the blue Copics: B05, B06 and B000, have been added
The tag was stamped on White Card Stock, also in Versafine Onyx Black and heat embossed.  Then colored with Copics:  B06, R27, Y13, Y18.  The card was then blended with Distress: Antique Linen, cut out and the corners punched out.  This was attached to a Quad Print with brads.  Also has the corners cut out.  
Card base:  This is an A2 Card.  One Quad print was cut 4 1/8 X 5 3/8 (Blue and white check) and a second was cut 4 X 5.25 and layered onto a white card base.  The white checkered ribbon was placed around the bottom of the card

It works and is Circus.  But I needed 2 more!!!  Time to think.

Just a note: Wonder why I use different inks, sometimes I heat emboss and sometimes not?  It is all to do with the method that will used to color.  Stay tuned for the blog hop, we will talk about all things Copic.


Card 2:  This one caused me great pause!!

I sat staring at the box of prints, what to do.  For the most part, the sentiments were too large for the prints, they need to be a mat, but none of them said circus.  Then it hit me.  There was a Quad print with a wheel and a sentiment that included the word "Ride".  OK.  I needed to get that part of the sentiment out of the stamp.  Often when faced with this issue, I just cut the stamp.  But cutting this stamp wouldn't really work that well, but Masking would.  Thus, I masked the Stamp.
Using removable tape, I covered up what I did not want, inked the stamp, removed the tape and stamped

Hard to photograph due to reflection, but here are two views of the card pieces.
Ok.  I stamped this in Archival Potting Soil and embossed with clear embossing powder.  Then I inked the card with Distress ink: Brushed Corduroy, sprayed with water to distress it further, cut out using a label die from Spellbinders.  Matt for tag was cut from Gold Card Stock.  The Quad was also cut with the label die and a mat for it was cut from the same Gold Card Stock.  So far so good.

Now I needed a "ride".  I looked at bicycle stamps, motorcycle stamps,car stamps, nothing spoke to me.  Then I remembered I had a bicycle die.  Except I didn't have anything metal worked.  Card stock was too flat, so I put this card aside and moved on.   A few days later, I was at the grocery store.  I had an inspiration, CANS!!!  So I went looking for the Can that worked with my image.  Red coke cans, no, Pepsi, no, beer, maybe, but then I spied this cool green and gold can, and it worked with my paper!!!  Home it went.  I must confess, I did not pour the contents down the drain.  


Using a good pair of sheers, I cut the can apart and placed the die onto the can. I actually placed the die on the colored part to cut, That way I could get all the color in the right place, but I could not get it to photograph well.   So I took this with the inside of the can.   It cut well, but I did have to run it through my Big Shot twice, then moved to my Vagabond and finished the job.  I think, if I had used the Vagabond first it would have worked better.  The Vagabond exerts a bit more pressure than the Big Shot, but oh well, I needed the exercise.  
I also cut a mat for it out of the gold and inked the edges with Distress Walnut Stain.  This was then mounted using foam squares to raise the metal image from the mat. I was going for a shadow effect.
Added to Card.  Matched the curve of the handle bars to the Wheel .  I was thinking Evolution, from wagon wheel to Bicycle.  I really wasn't a philosophy major, but I think I spent too much time thinking while making these cards, LOL.  
Ok, two down, Now what!!!

 Card 3:  Pink!!!  It needs to be Pink!  OK?

So I needed a card that was mostly one layer, used Quad prints and was Pink.  

Easy, lets see:  Stamped the sentiment in White Opaque Ink on Kraft Card Stock and heat embossed with White Embossing powder.  Used Chalk ink: Versamagic in Pink Petunia and Malted Mauve to add interest to the card and a bit of color.  Matted it onto a white card base, matted with Pink Card Stock from the kit and the Striped Quad print.  Added the White Ribbon.  Done.  Well not quite, something was missing!

I decided on a pinwheel as this is suppose to be about the circus.  Here is a photo log on how I created the pinwheel.
using a 2.25 inch square die, cut quad paper.
Marked Center and drew lines from each corner

Cut along the lines, leaving slightly more than a quarter inch at the center


punch holes on one side of each triangle

Using a brad, align the holes and then push down through center of pinwheel, adhere to card front.  

Whew, I am tired.  Seems like we went a long way to get this project wrapped up.  But I am most pleased with the results.  I hope you enjoyed my dialog and journey through the creative process.
My next projects will involve a lot of coloring and discussing the topic of Copic Marker selection and how to go about choosing which ones to add to your collection.
So join me next week for Club Scraps Blog Hop.  
Enjoy!
Happy Crafting,
Josette

Supplies and Links:
Copics:  
B:      000, 05,06
R:      27
Y:      13,18

Inks:  Distress:       Fired Brick, Antique Linen, Brushed Corduroy 
          Versafine:     Onyx Black
           Archival:     Potting Soil
         Versamagic:  Pink Petunia, Malted Mauve

Marianne's:        Bicycle die
Spellbinders:      Label Die
Sizzix:                Square

Misc:
Card Stock:     Gold (unknown Manufactured, purchased at Staples, believe a Neenah brand)
                        Kraft,  Neenah Desert Storm
                        White:  Neenah Solar White, 80# for stamped and colored images, 110# card base
                        Black Card Base:  Neenah, linen weave
Can:   Budlight, Margarita Lime
ATG, Foam dots, Glue, Spray bottle with Water, Big Shot, Vagabond, Glue Dots, ruler, scissors, 
Humor!! 

Friday, October 16, 2015

Club Scrap: October Kit "Big Top" . Two Cards

Time for my personal blog posting using the Club Scrap Kit.  This month the theme was "Big Top".
This is a vintage circus themed kit, with wonderful sentiments and luscious papers.  I received the Deluxe  Kit to play with, and having those nice big 12 X 12 Sheets, led me to one of my favorite card types: Interactive Cards.  I love interactive cards, figuring out the mechanics and how to fill in all that space.  

Card 1:  Interactive Card with pop up and a wobbler.


This card is straightforward:  I cut the base out using a Sizzix die.
I cut this out of the blue circus paper.  The main focus of this card is the carousel stamp that will be applied to the pop out area.  

So let us see how I made this card.  First using the die, I cut out the circus paper.  Then using the blue and white patterned paper, cut a second card that measured 5 x 12 inches and rounded the corners.
Using the same die, for the tickets, in the next card, cut out the tickets and stamped them onto the green card stock, stapled them together and mounted them on a wobbler.  This was applied to the top of the card.
look close and you can see the wobbler mechanism.  
The tent, carousel animals, Big Top Tag, border and the stamp used for the front of the card were stamped onto Neenah Solar White Card Stock with  Momento ink: Tuxedo Black.  All were colored with Copic Markers.  The tent topper was fussy cut, Carousel animals were cut with a label die that matched the pop up base and the rest were trimmed with a trimmer after coloring.  

Copic: Horse: W0,W1,W3, Y35, B05
Elephant:  W0, W3,W5,R27, Y13
Camel: ,E53, E55, R27, B05
Background: E000,E41,E51,E53,E55,Y 26,Y28, BG0000, BG10
Multiliner in Black, .25 mm was used to add impression of boards to label.

I used Distress Antique Linen to color the background of the Sentiment.  The letters and ribbons were colored with copics, as was the border stamp.  Stickles were used for the stars.  Copics: R27, B05, Y35, Y11, B000.  Stickles: Cranberry and Goldenrod. 
The front of the card was blended with Distress: Tumbled Glass and Antique Linen, layered onto Circus Paper and embellished with ribbon and pearls from kit.  

Card 2:  This is a Bendi Card.  

I have never made one before and thought the kit would lend itself well to the design.  There was a major learning curve with this one, mostly related to mechanics.

So I started with a basic template.  I found this on Splitcoast Stampers.com.   Here is a link to the original posting.  YouTube Tutorial on Bendi Card.  There is also written instructions on Splitcoast stampers, search for Bendi Fold.  
I started with the template.  First I made a card using the dimensions provided on the tutorial.  Then I created a mock up with my idea for the Big Top.  Adjusted measurements accordingly .  


I started with a half sheet of White Card stock, Neenah Solar White, and applied Fired Brick Distress in to a Tim Holtz Stencil.  I applied the ink heavier in areas and lighter in others, I was thinking about the curve of a tent and how the light would hit.  
Next I added antique linen Distress to age and darken the white areas.  Again, thinking about light and shadow.  I also blended out the red in the areas where there was too much contrast.  

Fussy cut the carousel panel from one of the preprinted pages.  Layer down the cut out panel and traced out the edges, and drew in the line where I would cut away the stenciling.  


Once marked, I cut out the piece along the pencil lines.  Glued the panel onto the card base and now for the flaps.  
Flaps:  
These were cut out using the template that I had created from the pattern paper in the kit.  I cut out two of each and glued them together, thus both sides were patterned.  The down side, the flaps are very dense and difficult to mold, but they are very sturdy.  Double sided paper would give a "softer" more bendable card.  But I like this option and used it to my benefit when I added the sentiment on the inside.

Embellishments:  The tag on the larger flap, was cut from the same paper as the carousel and adhered to the panel.  Now for the tickets:

First color applied to tag.  This was done using a direct ink to paper application.  First application of ink was with Faded Jeans  on Kraft paper.  I used a light hand and left it sketchy.  

Second ink application.  The blue needed variety, so I added a small amount of Blueprint  Distsress to add  dimension.
Fired Brick was applied to a second paper with the same technique.  No second ink color was used on this one.  
All were lightly sprayed to further distress the ink and they were cut into tags and stamped.  


Besides the tickets and fussy cut embellishment, I also created a Happy Birthday for the inside of the card.  
Slots were cut into the flaps, as described in the Bendi Instructions.  Flaps adhered and finished.
One note on the birthday tag.  First I bent the flap that it would be adhered to. I applied Glossy Accents to just the very edge of the tag.  This left the center free so that the tab could be inserted from the front, go behind the tag and not be seen.  The tassel was created by glueing yarn around a stick, tassel added and glued to card.  


Not a hard card to make just a lot of steps.  The first card is easier, but then you have all the coloring. I guess it is a toss up, but I like them both.

That is it for today.  Stop back next week as see what the team produced for the Team Challenge.  There is also a blog hop on October 27.  My addition to the hop will feature more fun designs from this Kit as well as exploring how to chose which Copic Colors to use and why.

See you soon,
Happy Crafting
Josette

Supplies and Links:
Club Scrap

Dies:  The Karen Burniston Dies through Sizzix are no longer available.  She is now designing for Elizabeth Crafts, she has several Pop up dies that will work for this design idea and can be easily modified.  I personally prefer her new line as it has more versatility, but I have the old one, so there you go.  

Inks:  Distress:  Fired Brick, Antique Linen, Faded Jeans, Blueprint Sketch
         Momento:  Tuxedo Black

Stickles:  Goldenrod and Cranberry

Copics:  
E:    000,41,51,53,55
B:    0000,000,02,05,06
BG: 0000,10
R:    24,27
Y:    11,13,16,28,35
W:   0,1,3,5
There are a lot of markers here.  During the blog hop, I am going to discuss Copics and help you decide which and how many of these markers you need.  You do not need all of  them, but if you have a lot, use them, if not improvise.  So be sure and come back as I discuss these wonderful markers.