 |
| The Background |
Here are a few of the backgrounds that were created during my exploration of this technique:
 |
| This is the stencil using Radiant Gels and is done in the traditional stenciling manner. Note the "gears" are the white space. If you want the opposite from your stencil, this technique fits the bill. I tried reversing this stencil, it worked but the finished product had a lot of texture but no distinct image. Might work better with a different stencil. This one had a lot of "plastic" to cover. |
 |
| Another example, this one is using Silks and is reversed Stenciled in the same manner as demonstrated in the video. Not bad, will use if for another project later. To "bold for this project. |
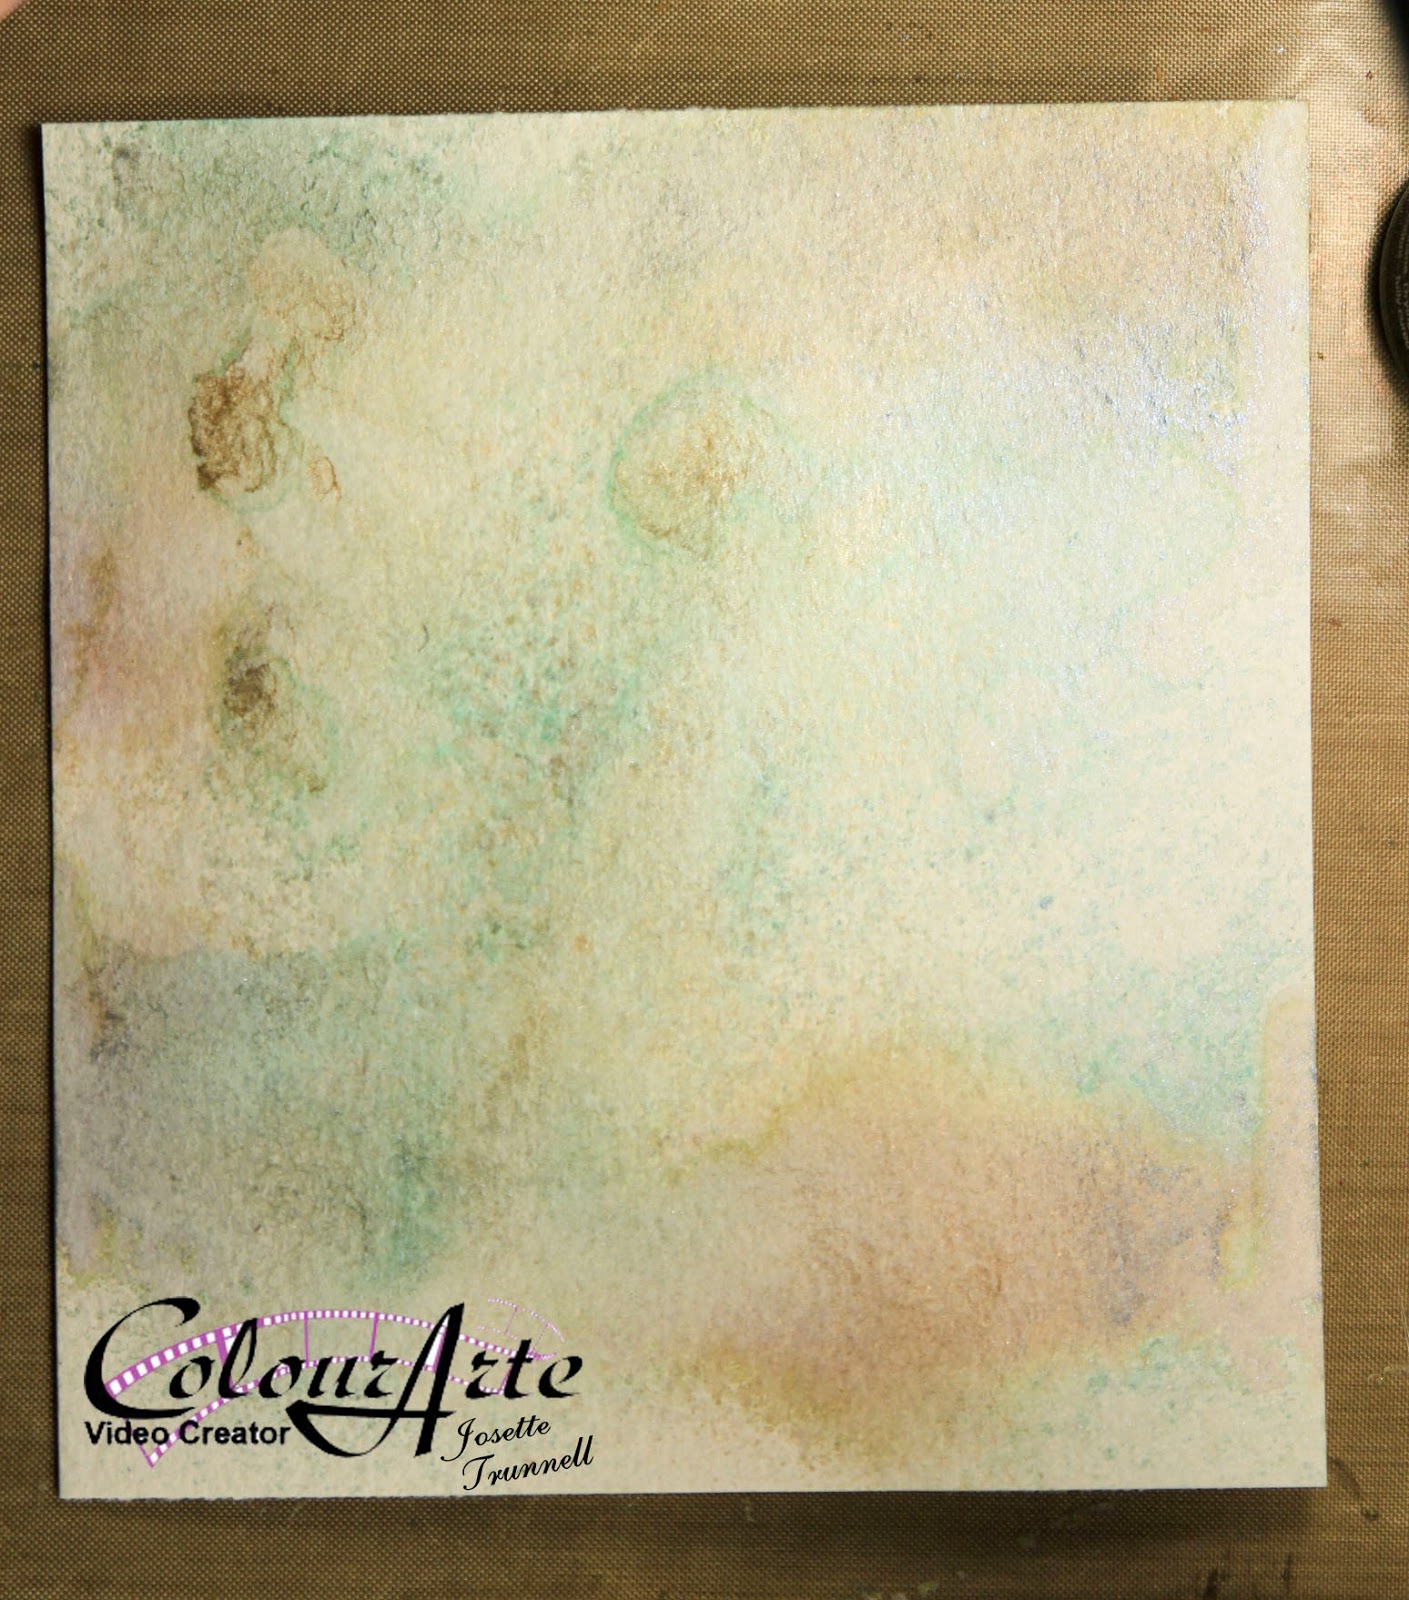 |
| Background prior to stenciling. This was Water Color paper misted with a mixture of water and Primary elements. I went with less concentration of color to give a soft background with areas of more intensity. |
 |
| The background supports the focal images without being overwhelming. |

The ribbon was created by spraying and daubing Radiant Rain products as well as the same sprays used on the background to create a harmonious composition on Seam Binding.
 |
| Beginning of ribbon coloring. Once the ink is laid down, water is added and then the ribbon is kneaded to blend and distribute the colorant. I appears very bright and bold here, but once dried, matched the background very well. |
 |
| The ink was blotted up to give a faded distressed feel. This wasn't necessary as most of it was covered with the focal background. But is a good technique to use for another project. |

I combined: embossing powder fine detail, with chunky. Glitter, both fine micro glitter and Distress. Distress Embossing Powder, Glittered Embossing Powder, plus some of the samples that I had received from Sweet Stamps.
Once embossed, they were further enhanced with the Emperor's Gold Silk and Radiant Rain Sprays.
Final step was to distress the background and apply ink to the edges and enhance the colors within the background. I find that Distress Ink goes with everything!!
 |
| Distressed and ready for ink. Tumbled Glass and Walnut Stain Distress. |

Link to YouTube: Watch the process
Hope you enjoy!!
Until Next time, Happy Crafting
Josette
Links:
Colour Arte: http://colourarte.com
YouTube: ColourArte Channel
Supplies:
ColourArte
Radiant Rain: Egyptian Gold Dauber
Nutmeg Spray
Guatemalan Dauber
Teal Zircon Spray
Primary Elements: Beach-House Blue
Ancient Coin
Burnt Umber
Silks: Emperor's Gold
Olive Vine
Other Products used:
Strathmore 400 Series, Cold Press Water Color Paper, 140#
Distress Ink; Tumbled Glass
Walnut Stain
Dies: Sizzix: Movers and Shapers butterflies , and Large Butterfly
Sweet Stamp: Enchanted Aubergine Embossing Powder
Mermaid's Tears Embossing Powder
Piccolo Enamel/Embossing Powder adhesive
Products used to create embossing Powder mix:
Sparkle and Sprinkle: Opaque: Candlelight and Mediterranean Star
Tsukineko: Verdigris
Distsress embossing powder: Walnut Stain
Distress Glitter: Tarnished Brass
Peeled Paint
Peacock Feathers
Hero Arts: Clear
Stamendous: Aged Gold, Aged White,
No comments:
Post a Comment